Painting tips for customizing a NERF blaster
Unleash your inner artist: Painting tips for customizing your NERF blaster!
Want to take your NERF game to the next level? Go beyond basic modifications and inject some personality with custom paint jobs!
This guide will help you transform your blaster from ordinary to extraordinary, giving you the confidence to unleash your creative side.
Gather your supplies:
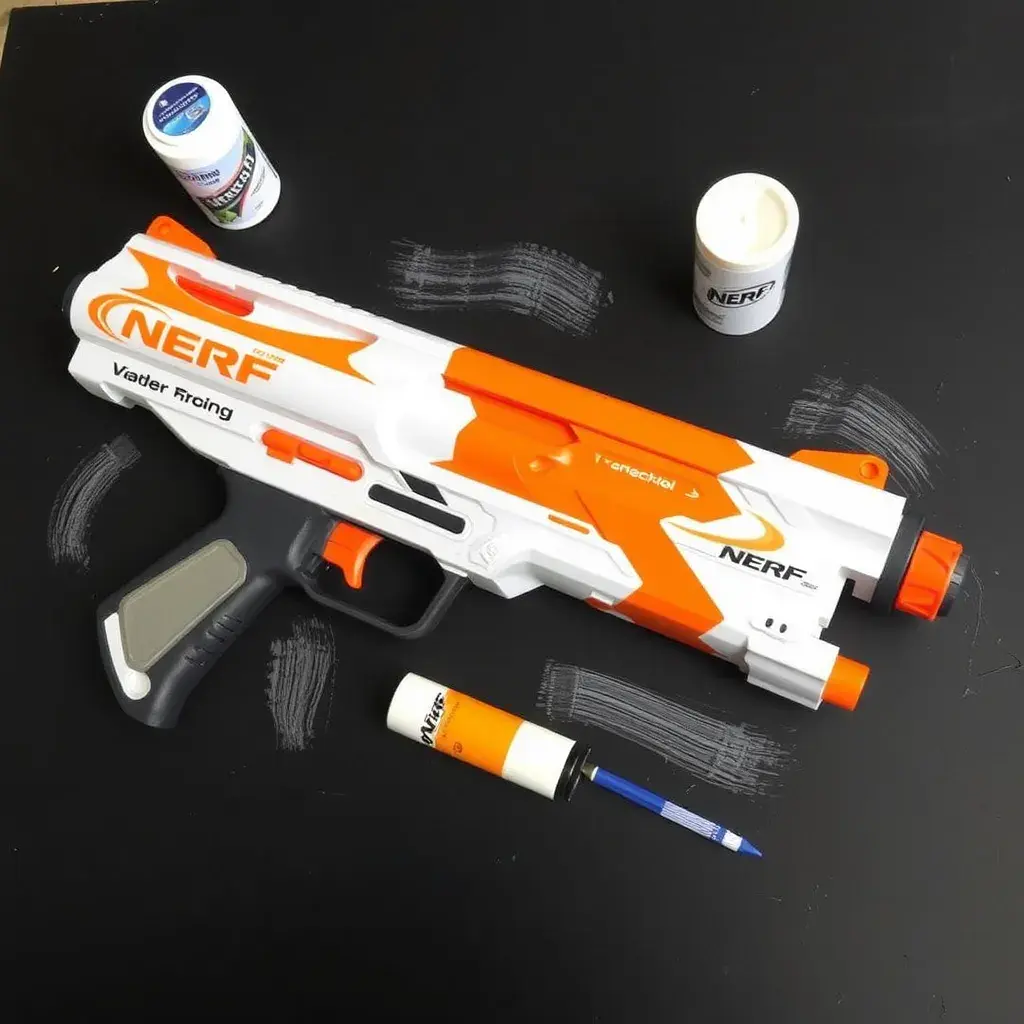
- Blasters: Choose your blaster wisely, considering the size, shape, and material for your chosen paint job.
- Paint:
- Acrylic paint: A popular choice due to its versatility, durability, and water-based cleanup.
- Spray paint: Great for achieving smooth, even coverage, especially on larger blasters.
- Primers: Use a primer specifically designed for plastic to ensure paint adhesion. Consider a grey primer for a neutral base layer.
- Brushes & Tools: Invest in a variety of sizes and shapes. Fine detail brushes are essential for intricate designs. Masking tape, toothpicks, and cotton swabs are also handy.
- Clear Coat: Protect your masterpiece with a protective sealant, available in matte or glossy finishes.
- Sandpaper: Optional, for smoothing rough surfaces before painting.
- Painting Surface: Protect your work surface with drop cloths or newspaper.
Steps to Epic Paint Jobs:
-
Prep Work:
- Clean your blaster: Remove any existing grime or dirt with soap and water.
- Sand: Lightly sand any rough edges or imperfections to promote paint adhesion.
- Primer: Apply a thin, even coat of primer, allowing it to dry completely according to manufacturer instructions.
-
Mask it Up: Use masking tape to protect areas you don't want painted, like parts you want to keep original.
-
Base Coat: Apply a base coat of your chosen color. Thin acrylic paints with water for better application and less drying time between layers. Let it dry thoroughly.
-
Detail Work: Now for the fun part! Use smaller brushes and stencils to add details, patterns, and designs. Don't be afraid to experiment!
-
Clear Coat: Apply a thin layer of clear coat to protect your paint job from scratches and fading.
Inspiration & Ideas:
- Camouflage: Blend colors for a realistic camo effect.
- Metallic Finishes: Use metallic paints for a futuristic or steampunk vibe.
- Glow-in-the-Dark: Add a spooky or cool factor with glow-in-the-dark paint.
- Character Customs: Transform your blaster into your favorite character's weapon!
Pro Tips:
- Thin Paints: Thick paint can clog brushes and create uneven surfaces.
- Multiple Thin Coats: Build up your paint layers gradually for a smoother finish.
- Patience: Let each layer dry completely before applying the next.
- Practice: Experiment on scrap plastic before tackling your blaster.
- Have Fun! There's no right or wrong way to customize, so let your creativity guide you.
Now get out there and paint some awesome! Remember to always prioritize safety when using paints and tools.